In late 2023 I identified I’m probably autistic1. I really dived into the topic; I read and watched loads of experiences of autistic people, joined communities, made new friends online, and learned a lot about myself. In January 2025, I did get a formal diagnosis, letting me mostly put to rest the self-doubting voice in the back of my head. Realising this and reframing my life with this information continues to be quite impactful to me.
I initially thought I’d write a big personal post detailing all the bits about my life that pointed toward this conclusion, and going in depth on the whole journey, but I decided against it. After all, I already kind of did, in the form of a 53 page PDF I sent to the assessment team ahead of our sessions.
Moving on though, I’d like to write about more particular areas of the autistic experience. The usual disclaimers apply; I can only really write from my own perspective, even if my reflections are partially informed by other people’s accounts. If you’ve met one autistic person, you’ve met one autistic person.2
An Upcoming Thing
Onto the subject matter; what do I mean by having an Upcoming Thing?
Well, this can be many things, but primarily it entails:
An event is happening in the future. This can be later today, in a few days, or even months from now.
The event is something I have to take some action for in preparation.
Usually, it involves other people.
The event has one or more aspects to it that are hard or impossible to predict.
In June 2021, my partner Brittany and I realised a dream: we bought a house. When viewing the place, the owners showed surprise about us wanting to have a look at the standalone double garage. It was packed full of unwanted stuff, leaving barely any room to walk. As “makers”, we had some different ideas for the space. Soon after we got the keys, we got to work.
Let’s get the before/after out of the way before going through the whole thing.
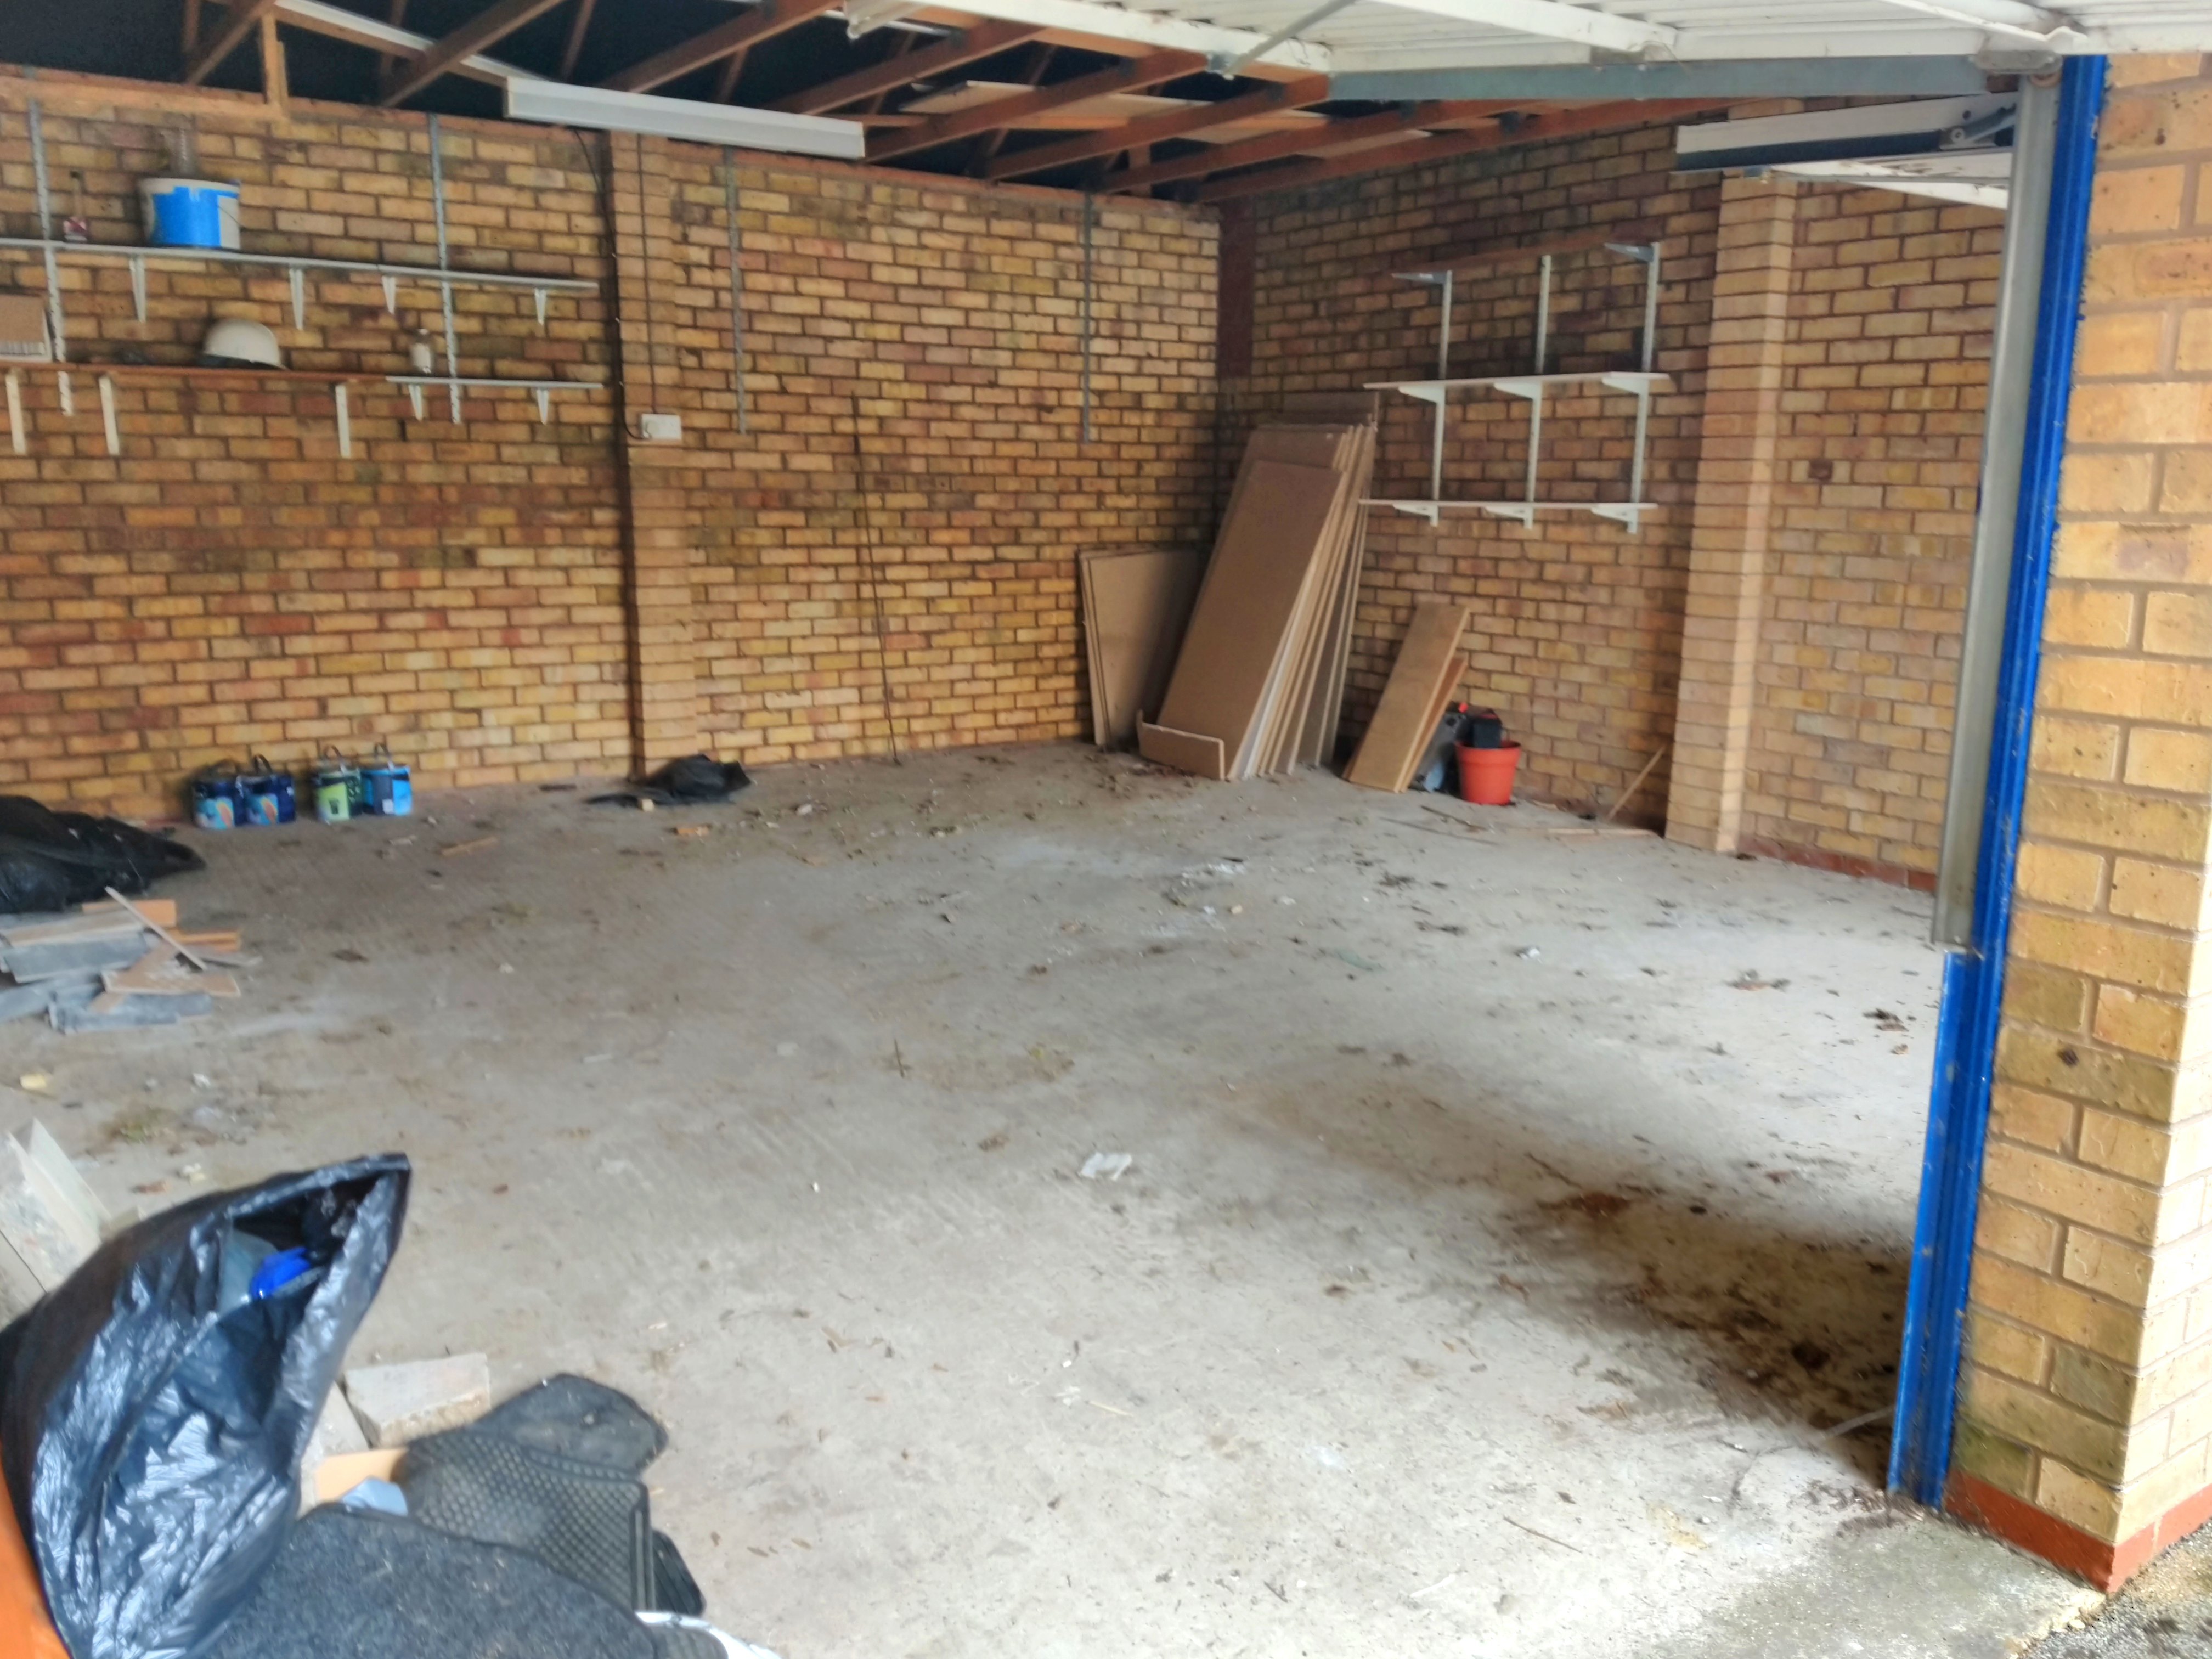
Before
How we found the garage on the day we received the keys, June 11th. The previous owners cleared out most of their stuff, but left us a few things we might find useful.
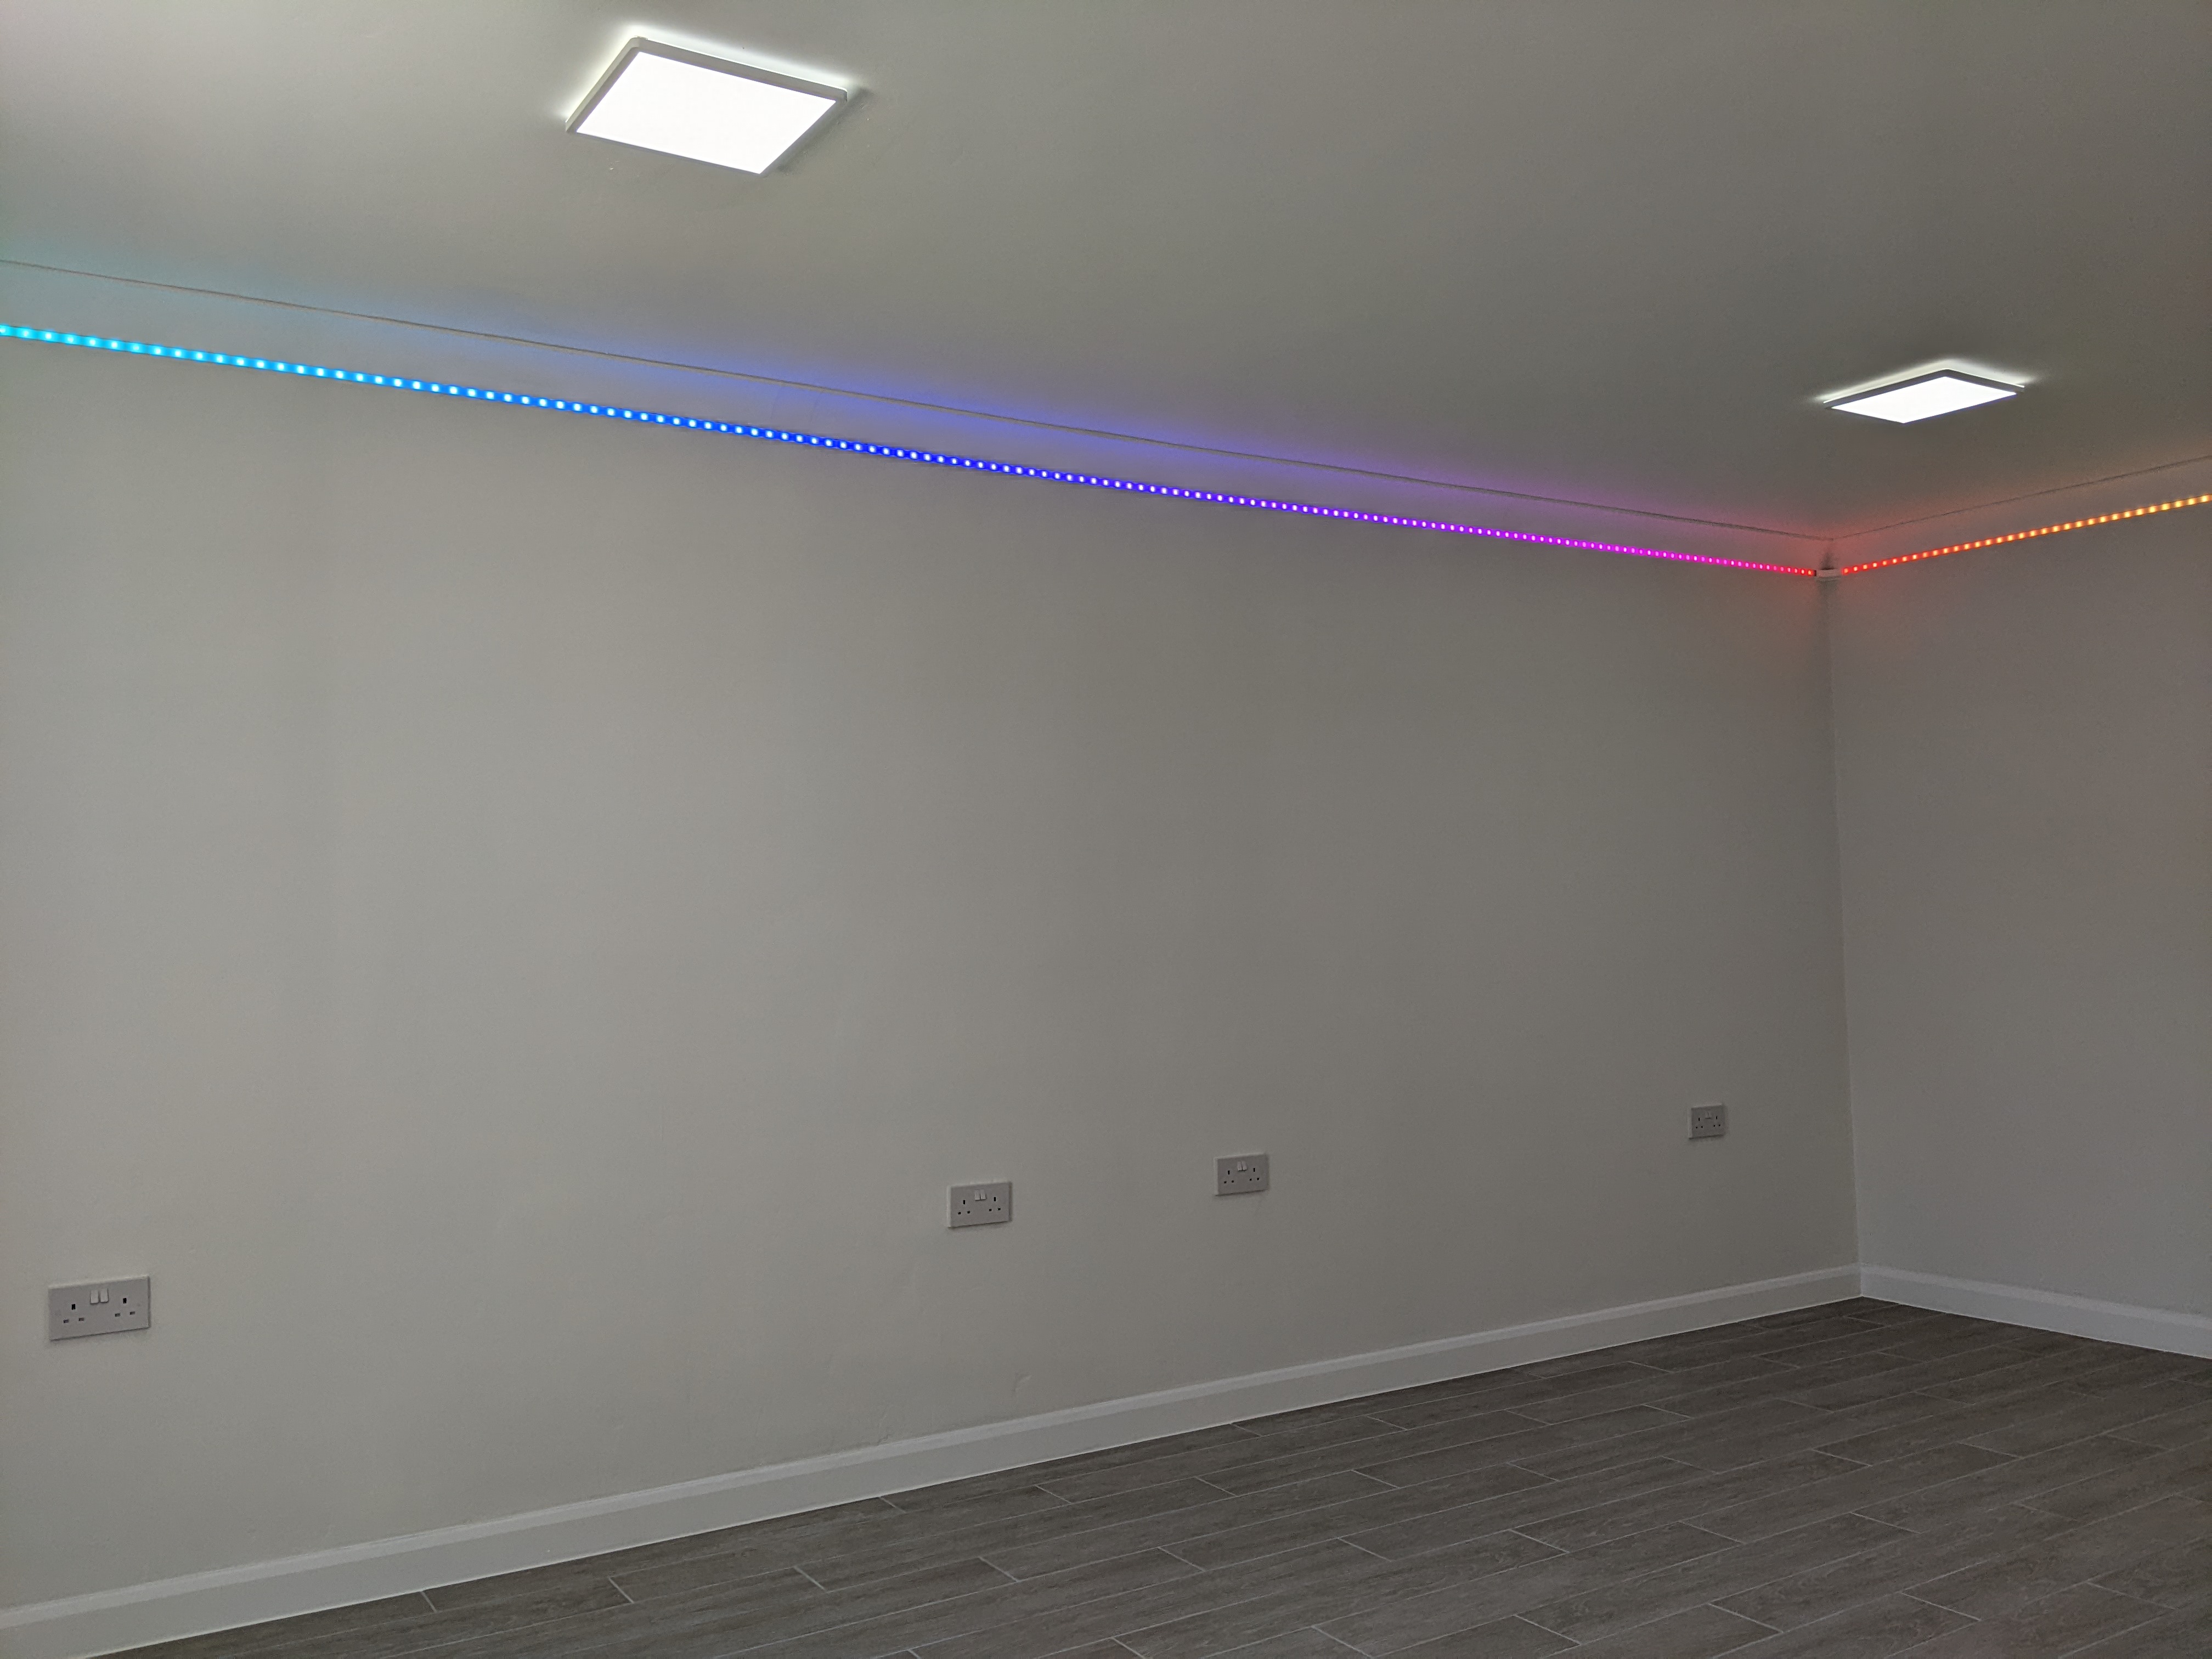
After
The finished product after all the work we’ve completed, from a similar viewpoint. Better photos near the end of the post. The goal was to have a finished “inside” style room we’d be comfortable in for our nerdy activities.
If you’re using git for your project’s version control, it might interest you that you can deploy your latest changes to the server where you’re hosting your application by using just git on your local computer. I set this up for the site you’re reading, so I figured I’d put up a write-up of how I did it.
The heart of the matter are git hooks. Hooks are optional scripts that git can run for you in response of certain events happening. The main event we’re after, on the server end, is called post-receive. It is triggered after a git push.
Assumptions
For this guide, I assume the following:
You have git installed on your local computer, and the server you deploy to
Your server is running a Linux distribution, or at least has a bash shell.
You have some experience using a (bash) terminal
You are able to connect to your server via SSH, from the machine you’re working on
I’ve had some trouble piecing together how to deal with custom schematic components in my PCB design package of choice, Kicad. It took too much searching and trial and error to get to grips with the process, so I’ve decided to write my own detailed article about it. This guide applies as of version 4.0.4-stable. I’m using the Windows build.
Please do note, this article will only cover schematic components; I will not touch on the actual PCB footprints here. In Kicad, the two are very distinct; they are only connected when you finish designing your schematic, and you assign footprints to each of the components in it.
Library structure
In Kicad, all files are essentially plain text files, meaning you could edit them with a simple text editor like Notepad or TextEdit. A library (.lbr) file is one such plain text file, in which a series of schematic components are defined by name, a set of pins, and a drawing. In addition, there is a .dcm file for every library file, which contains any documentation and description for the components contained within the library.
Kicad comes with a set of libraries of its own, which are typically stored in a read-only location. As a result, if you want to customize or create new components, they should be saved in a library within your documents, or your project directory. You can choose to maintain your own main set of libraries that all your kicad projects can access, or you can save libraries in project folders, making them local to just that project.
The location you save your libraries is a matter of personal preference, so don’t dwell on it too much.
In programming, there are many use cases for doing things in an asynchronous way. In almost all cases, it comes down to executing an operation that may take a while, without blocking user interaction or other program execution. Perhaps the most common example of this is making a web request, waiting for its response, then doing something with said response. While you are waiting for the response, the user interface shouldn’t freeze.
This is where asynchronous operations come in. In essence, you tell the computer to “do X, and whenever that’s done, do Y. In the meantime, let me go about my business”. A real life analogy would be heating food in a microwave oven: You put your food in there, tell the oven what to do and to notify you when it’s done. While the oven is doing its thing, you can get on with setting the table. When it’s done, it gives you hot food, which you can then serve.
Callbacks: The Old, Ugly Way
If you are used to Java, you would often implement asynchronous operations by supplying a callback: a function that gets invoked once the operation is completed. You either instantiate and override a class that implements the required callback functions, or implement the interface directly in your class. The code to execute once the operation completes is nested at least two levels deep, or lives in some other method. Your options are to do some cumbersome nesting, or to artificially split up code that is part of the same action.
C# allows you to do both of those, but offers a much tidier approach. Out with the loads of extra classes and interfaces, in with async, await, and Task.
C#;s async Modifier and await Keyword
In C#, if you want to do asynchronous work, start by adding the async modifier to the method where you’ll be doing it.
private async void MyMethod()
In this method, you can now use the await keyword, for example, like the following:
var itemPrice = await api.getPrice(itemId);
The code in this method will execute up to this point, and not go any further until api.getPrice has finished its work and retrieved a value. Once in it has retrieved the item’s price from wherever, execution of our method continues at the next line, like regular program flow.
At this point you may object, since nothing but a few keywords distinguish the example from a normal synchronous program. The difference lies in the fact that other code is free to run while the awaited call is ongoing. The user interface will not become unresponsive.
This async method behaves exactly like a callback would. In contrast to a callback, all our related code gets to stay in one method, and remains easy to follow, much like a normal procedural program.
In this post I will explain how you can implement your own asynchronous methods for a few common use cases:
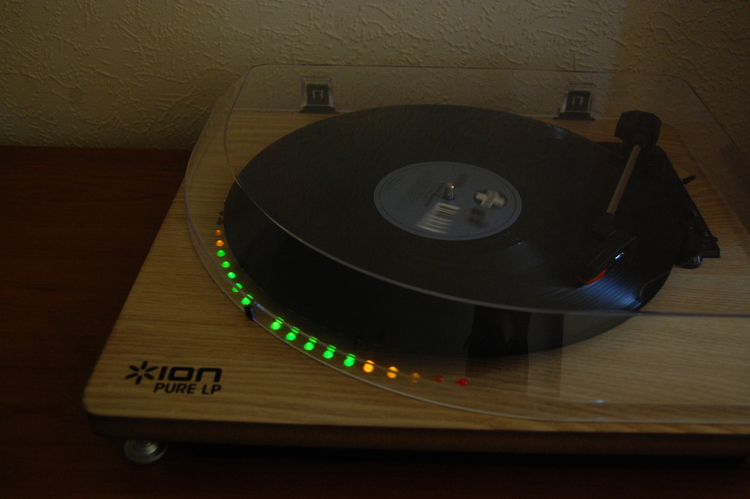
My fiancée got me a great gift for my last birthday: a turntable. Being a classic trance lover, I’ve since been collecting a bunch of records. The thing has really been a source of joy thus far.
About a month ago I started itching to do a little electronics project again as it had been a while. Long story short, I figured it’d be neat to open up this relatively simple device and add a nice aesthetic feature to it: VU meters.
Since this is a rather involved hack, (as opposed to my line-in addition to a boombox), it gave me a good reason to finally check out Southampton’s maker/hackerspace, SoMakeIt.
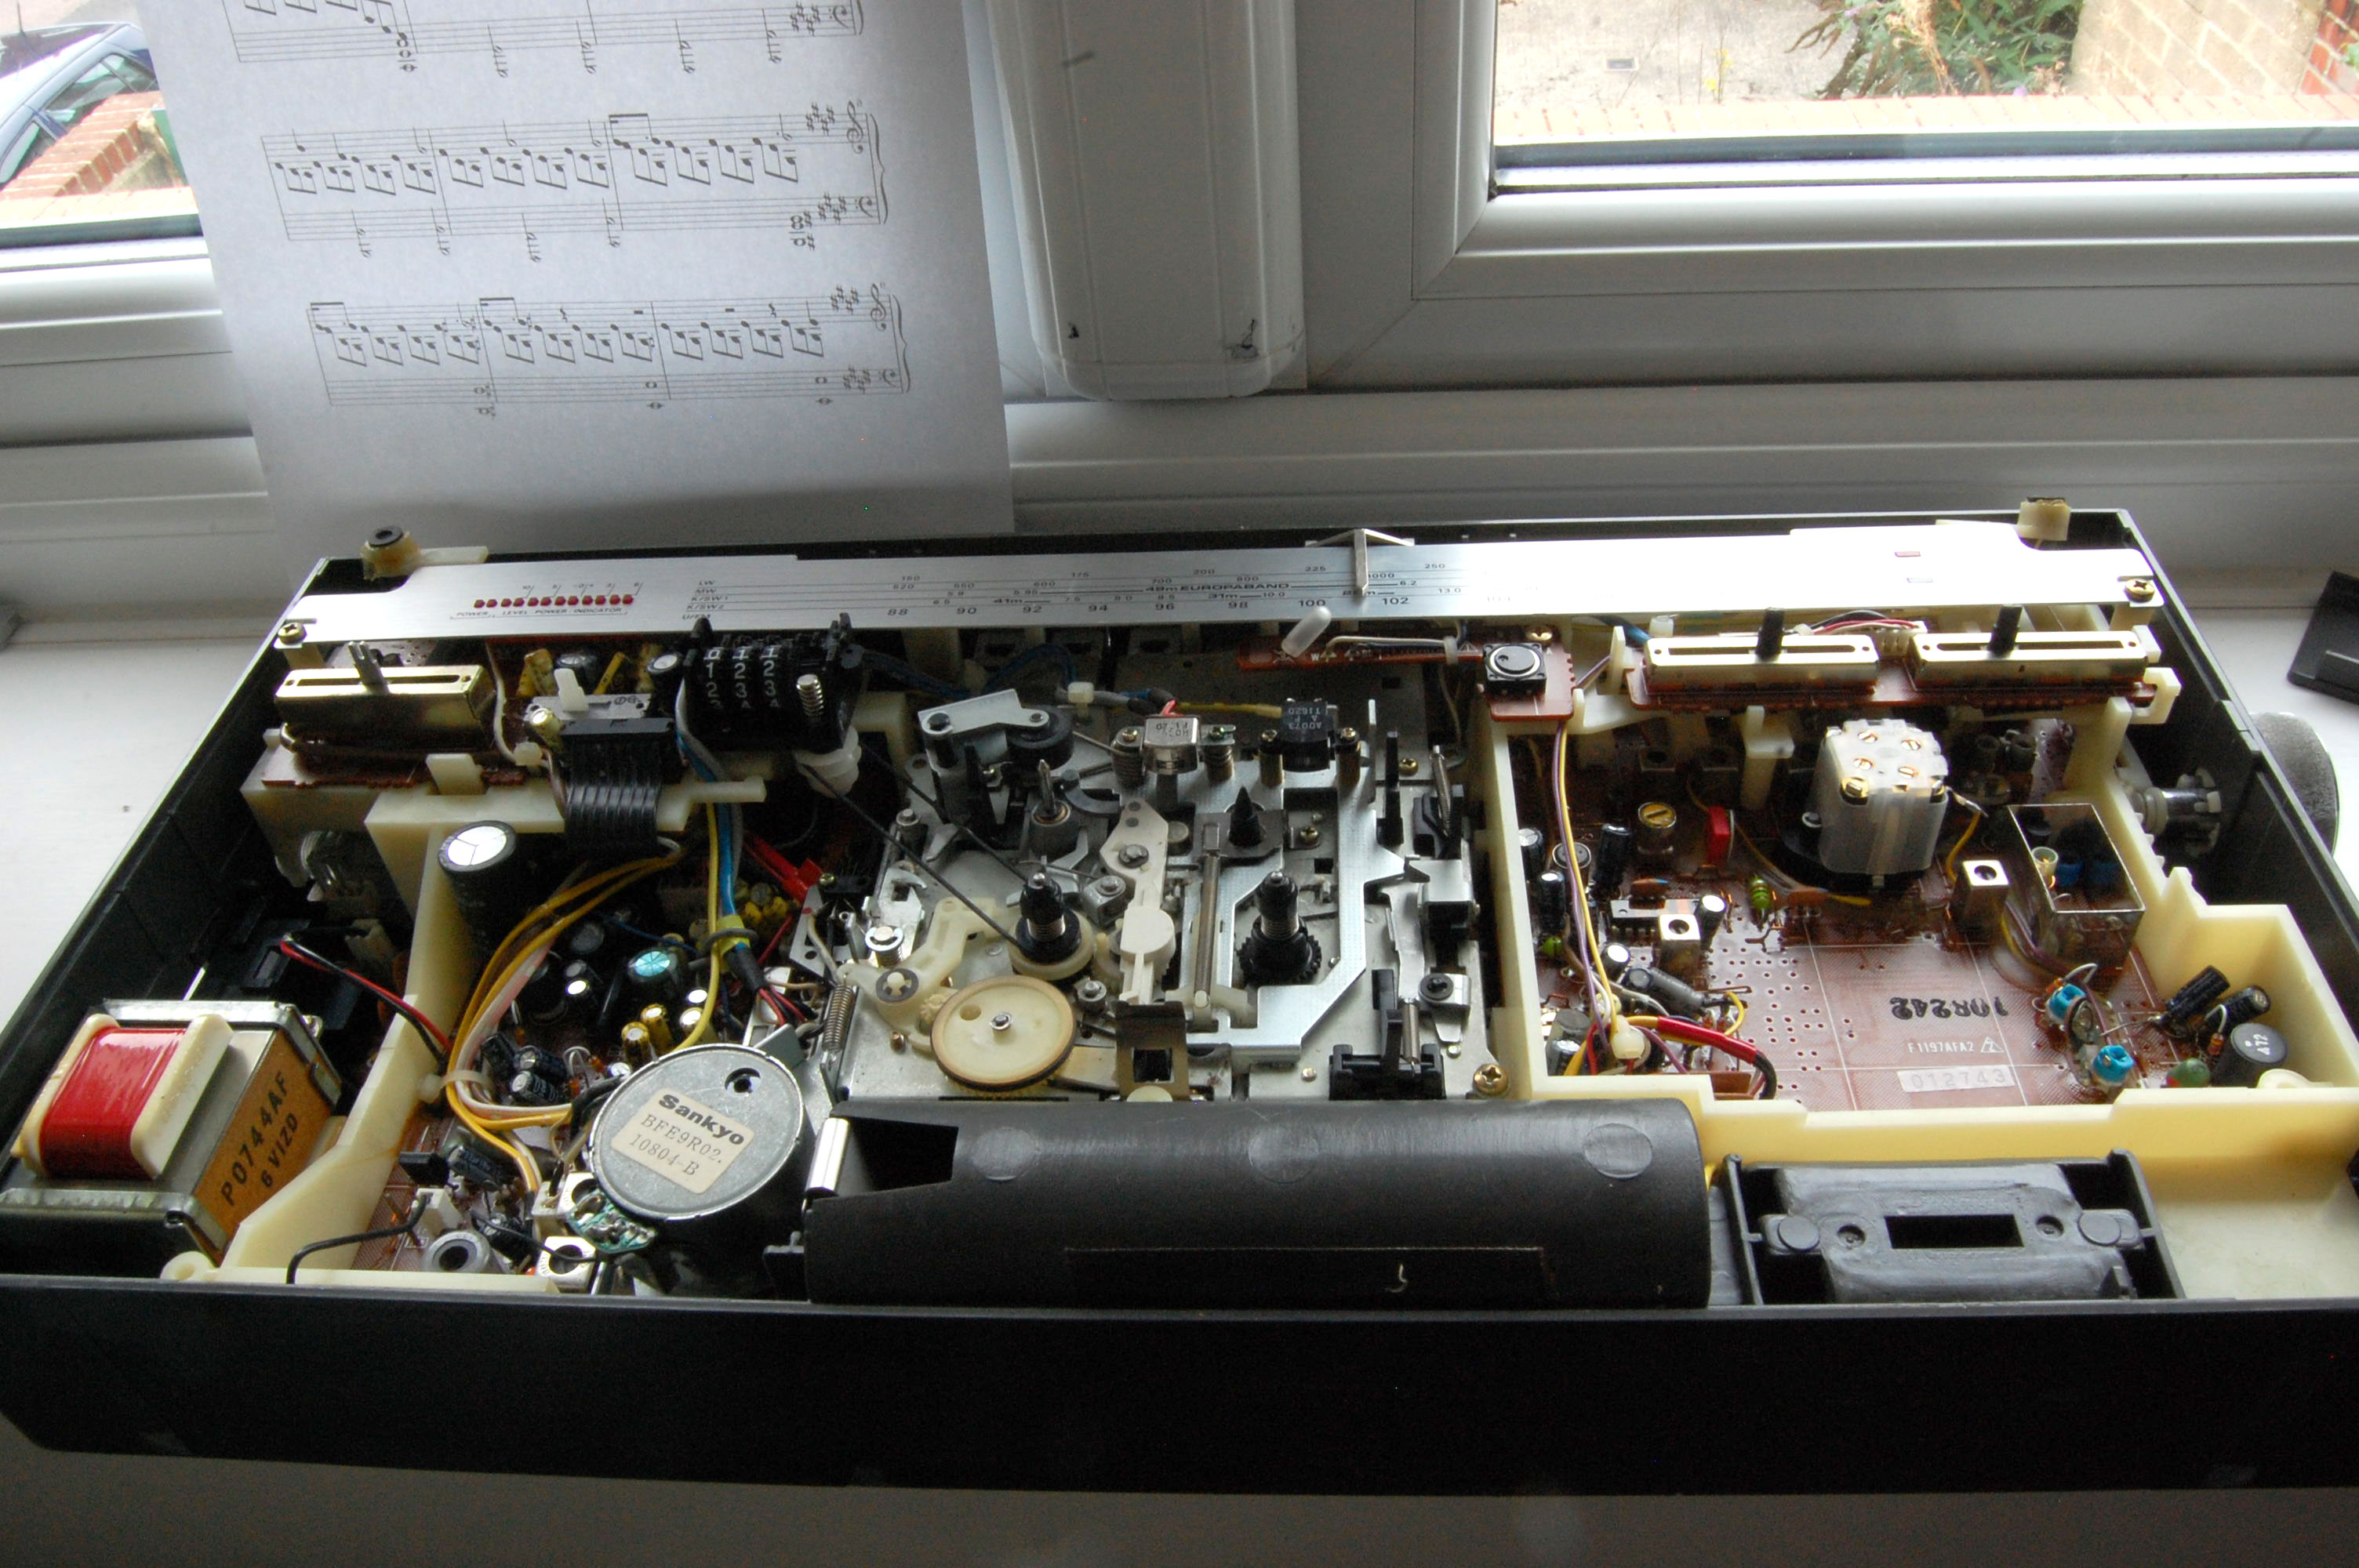
A few years ago, my grandmother gave me one of the old radios she had lying around the house. My late grandfather’s hobby was participating in radio quizzes, which led him to win a lot of radios; I assume this was one of them. The radio was manufactured in the early 80s, so the guts are relatively easy to tinker with; everything is on single-layer PCBs.
The radio, as it looked before opening it up
I realised that the audio quality of this old boy was really decent, so it would be a waste to just let it sit in a cupboard. I don’t generally listen to the radio that much, and I don’t exactly have a big collection of music on cassettes either (and if I did, I’d digitize it anyway). To really get some use out of it, the most logical thing would be to have a line-in, letting me hook up a phone or whichever external audio source.
So, I set to work, opening the machine up.
The front part of the case taken off, which removes the speakers
Last weekend I had a mission: to build a player component for instaud.io that could play audio people linked to, right in Facebook news feeds. I found that there are plenty of excerpts on how to go about this, but most of them are based on outdated links to Facebook developer documentation. It bugged me greatly that Facebook didn’t bother setting up redirects to relevant pages after restructuring their docs.
Anyway, I think this would work best as a step by step guide. I’ll go through the steps I’ve had to learn about; you may want to skip over some if you’re already know what you’re doing in them.
1. Build your player in Flash
I downloaded the Adobe Flash trial for this. You’ll want to create a stage that is not much wider than 500 pixels. I went with 504px. What you’re going to be playing depends entirely on you. My purpose was simply to play audio files (MP3s), so I used Sound and SoundChannel to control that. The audio file to be played was requested with an URLRequest object.
If you want a more thorough introduction on how to set up a simple sound player, this video from 2008 is still a good starting point, even with the latest version of Flash (12, CS6): Build Simple Sound Player: Flash Tutorial AS 3.0
Using parameters
The important part about the ActionScript is using parameters. Parameters will be passed to the eventual SWF through the querystring, that is, the bold part in this URL: https://example.com/my-player.swf?param=value&otherparam=value
In ActionScript (3), you can access these variables the following way:
This way you can use default values for parameters:
var myParam = loaderInfo.parameters.hasOwnProperty('myParam') ?
    loaderInfo.parameters.myParam :
    'defaultValue';
Since hasOwnProperty returns a boolean value (true or false), this statement assigns either the value of myParam from the querystring, or 'defaultValue' if no such parameter was specified, to the myParam variable. It uses a ternary operator.
2. Export the SWF file and include it in your website’s assets
This is fairly straightforward. You’ll want the swf to live someplace where it’s directly accessible. I let mine live in the document root directory.
One of the more valuable lessons that I’ve learned in the years I’ve been programming is that loose coupling will make your life better. A very good way to achieve loose coupling in your projects is by dividing functionality in self-sufficient modules that communicate merely by subscribing to and triggering events. To work with these events, you need one component that is relatively tightly coupled with all your modules. This little bit of coupling is definitely worth it though.
Before diving into specifics, let’s talk about just what I mean.
Loose coupling
When the code base for a project gets sizeable, one thing that can make it a nightmare to work with is tight coupling. When modules are tightly coupled in a project, it means that changing one method in module A may require you to change the way certain things are implemented in module D, F and G. In order to make any modifications, you need to be well aware of how other modules rely on the module you wish to modify.
Since having a single module in your head can be taxing enough for the mind, considering basically the whole project when making a local change is awful; oversights are bound to occur.
To ensure you do not need to wrap your head around the entire code base at all time, you’ll want to make sure your modules are loosely coupled. You can safely change the modules’ internals without having to worry about how other modules have to interact with this module. You need to consciously engineer your modules to be entirely agnostic of the inner workings of others.
You’ll find that employing this method makes it much less of a daunting task to change some functionality around.
Bring on event-driven programming
Event-driven programming is a fairly simple pattern where component subscribe to events and trigger them. A variant of the pattern is the observer pattern; the difference however lies in where the event dispatching happens.
In an observer pattern, you can register observers (subscribers) to event a certain module emits. This way you can subscribe to, for example, an after-save event, which is emitted every time an object’s data is saved. The observer subscribing to this event will be triggered every time that happens, and a function can then be run.
In this case, we move the subscribing facilities away from the modules to a dedicated event dispatcher module. This provides one central location where modules sign up to be notified when a certain event occurs, as well as where modules go to broadcast an event they want to make the application aware of.
Doing this, all each module is concerned with if it comes to communicating with the rest of the application is 2 uniform things: Emitting events and responding to events emitted elsewhere. The modules do their thing, throw out some information whenever there is something that may concern the rest of the application, and they remain alert for external events pertaining to the module in question.
Responsibilities of the event dispatcher
The event dispatcher module that drives this whole pattern has only few responsibilities:
Keeping track of event subscriptions
Dispatching incoming events to all the subscribers of that event