Kitchen+bathroom renovation pt.4
I figured it’s time for another update, as much has been done since we finished digging all that clay. Since then, pipes for water and cables for electricity have been put in place, concrete has been poured, walls have been placed, stabilizer has been poured, etc.
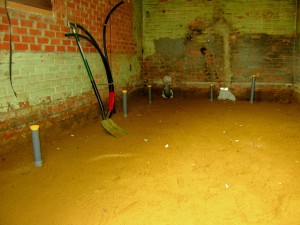
Here, a bunch of pipes for the used water have been put in place, and covered by sand again. There are so many of them because the room you see is going to be both the bathroom and the kitchen; a wall to separate them again has yet to be built.
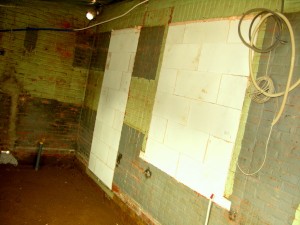
Remember those openings in the wall where once were a door and a window? Those have now been filled up with these white bricks, called ‘ytong’. I think it’s just their brand name.
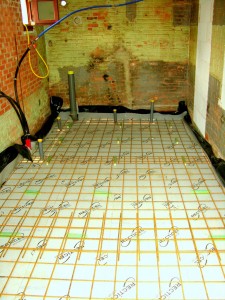
Here you see the iron grid and the floor isolation. This is right before we started pouring in concrete.
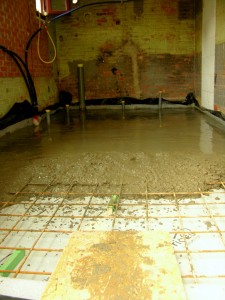
That’s quite a bunch of concrete. I helped by pouring it in there and spreading it out, while Bert Branders prepared new concrete. Bert is the guy that does all the work for this renovation by the way. Have a look at his brand new website. Have a guess who built it. ;-) Onto the renovation again.
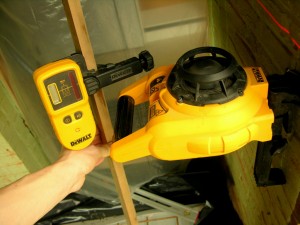
This is a really handy tool to check if the concrete is high enough. The device on the right constantly beams a laser line at a fixed height. The device on the left measure if that line is at the right height, in relation to how high you’re holding it. It indicates whether it needs to go up or down. In normal modus, it beeps far too loud, which is annoying. Luckily, you can also turn that off and just watch an arrow on the LCD.
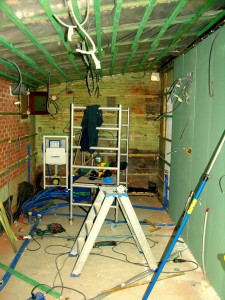
This is a couple of days later, where the concrete has hardened. You can see that quite some water tubes have been placed (the blue stuff), as well as the wall on the right.
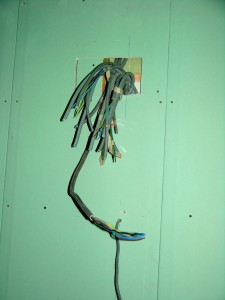
Quite some cables hanging out there. I bet he’ll have a load of fun connecting these up correctly.
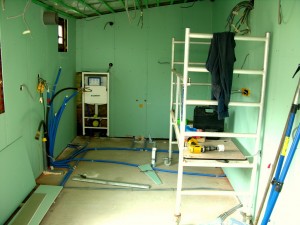
All walls done here, looks clean to me.
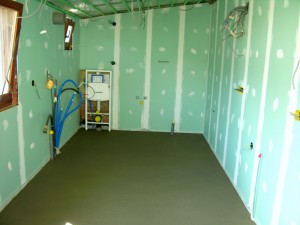
And here you can see the edges and holes in the wall have been patched up nicely. On the floor you can see the stabilizer that was put there today. It looks really smooth and even. This’ll have to dry over the weekend, and then we can go on again. I’m liking the progress.
